Connect the test fixture to the 7-mm terminal of the test head by following these steps. In this section, the method of connecting the 16197A test fixture is described as an example. When using other test fixtures, refer to the Operation Manual of the test fixture.
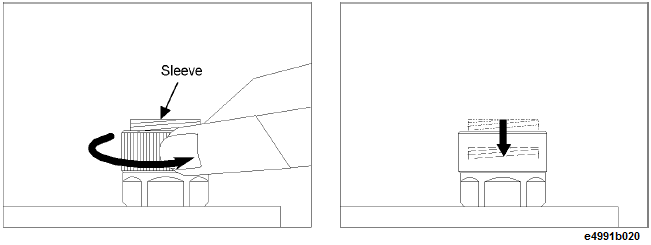
Turn the 7-mm connector nut of the test head counterclockwise until the connector sleeve is fully retracted, as shown below.
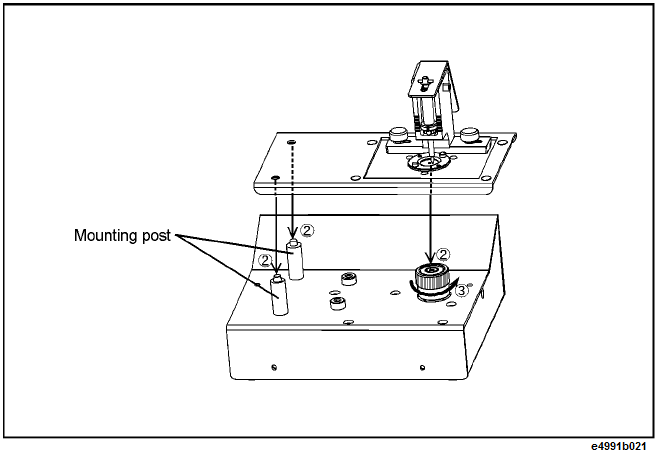
Set the two mount posts of the test head to the two holes of the test fixture and set the 7-mm terminal of the test head to 7-mm connector of the test fixture (shown below as 2).
Turn the 7-mm connector nut of the test head counterclockwise to connect it securely (shown below as 3). Use both hands to turn the connector nut because the space between the test head and the test fixture is narrow.