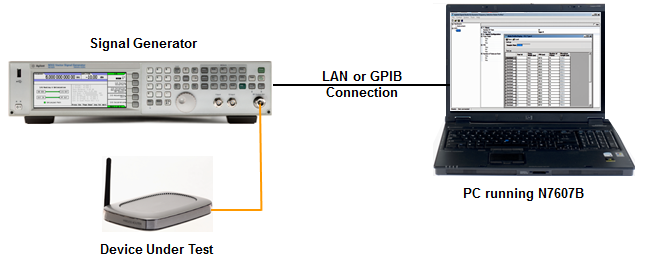
This procedure guides you through the settings to generate a radar signal using N7607C Signal Studio for DFS and DAA 2025 Update 1.0.
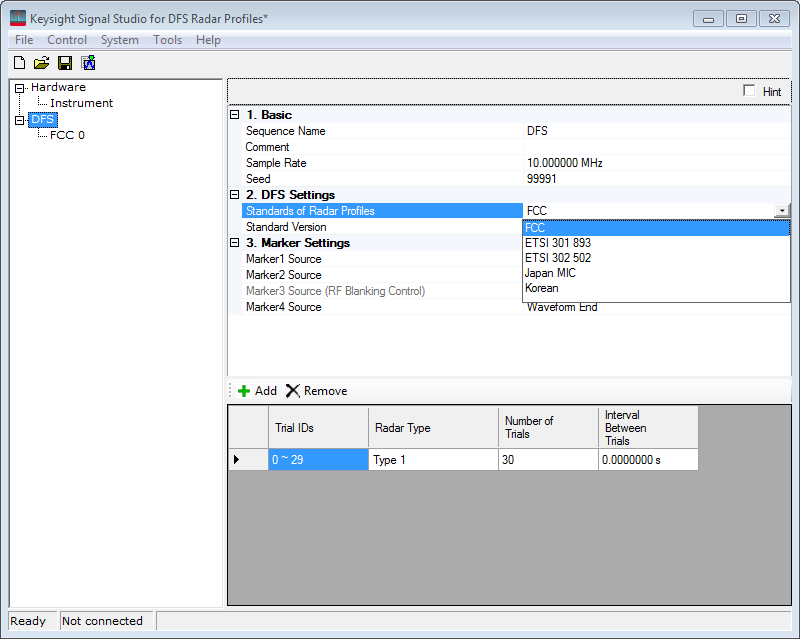
Click DFS in the tree view. Then click Standards of Radar Profiles, and use the drop-down arrow to display a menu from which you can select the desired radar profile, for example, FCC. Then select standard version in the Standard Version cell below.
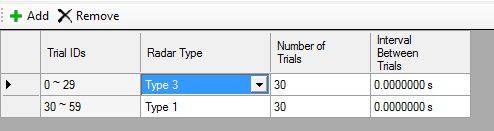
 button to add new trials with different radar type and then set up the trial list. For different standards of radar profiles, the settings in the trial list setting table are different. Note that setting parameters in the trial list setting table has the same effect as setting the corresponding parameters under the specific Radar Profile node.
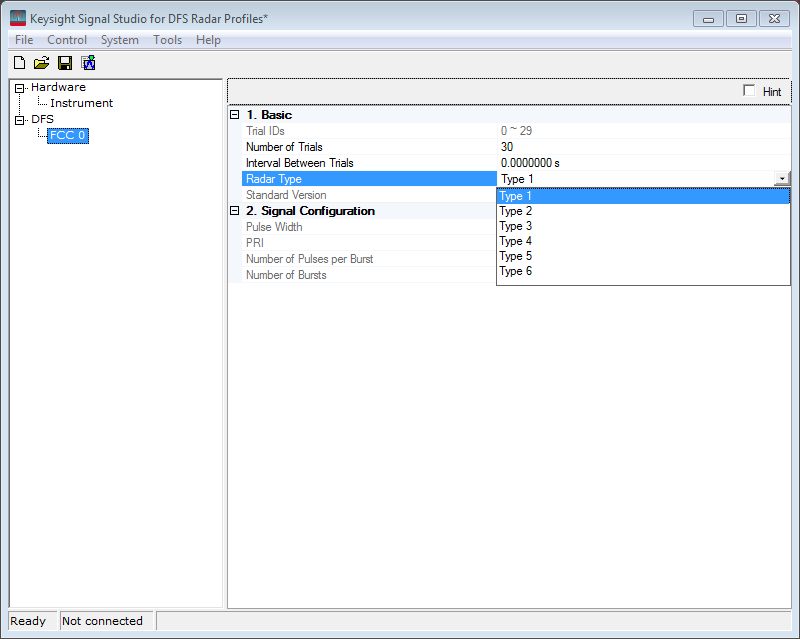
Click FCC n in the tree view. Then click Radar Type, and use the drop-down arrow to display a menu from which you can select the desired type, for example, Type 4. And set other parameters as you need.
Click Create Trial List button. A new window named "Trial List Table" will be displayed as below.
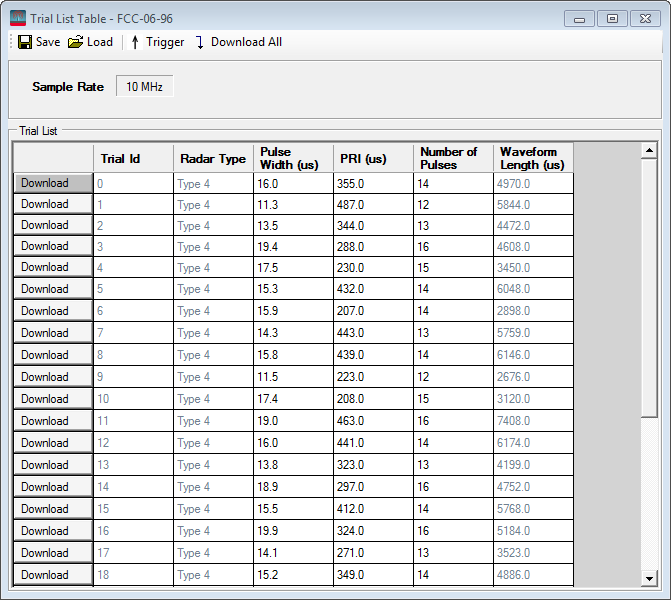
Click Download button for each trial to generate and download the waveform to the signal generator for playback. The signal for each trial is unique as required by the standards.
You can also click the Download All button to download all the trials into the instrument.