Exporting Data and Screenshots
The export data function lets you export information from selected traces to a .csv file. It also lets you export the entire display to the clipboard or to a file.
Exporting Data
Step 1. In the top section of each application window, select the Export icon ![]() . The following selections will appear.
. The following selections will appear.
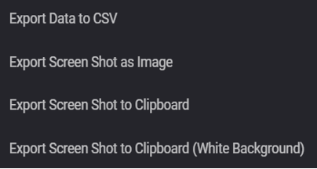
Step 2. Select Export Data to CSV. When exporting data, specify the file details, export options, and trace selections.
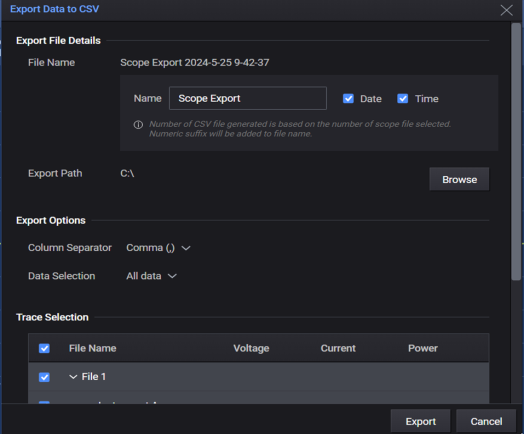
Export File Details - Accept the default export path, or select Browse to specify a different location where you will save the file. Additionally, you can specify the item to append to the filename (date, time, or file number).
Export Options - Specify the data separator (comma, semicolon, or tab), and the data you would like to export (all data, or data on chart).
Trace Selection - Lets you select the output traces from the Active traces of the instrument that you wish to export. NOTE: The N7900 Advanced Power System and RP7900 Regenerative Power System only contains waveform data in Channel 1.
Select All - selects all data (shown above).
Clear All - clears all selections.
Combine Data - lets you combine the data from all output traces to the same .csv file. You can combine the VI (voltage and current) data, the SOC (state of charge) data, or the Cycle data. In the example above the VI data from output 1, 2 and 4 will be exported to the same .csv file.
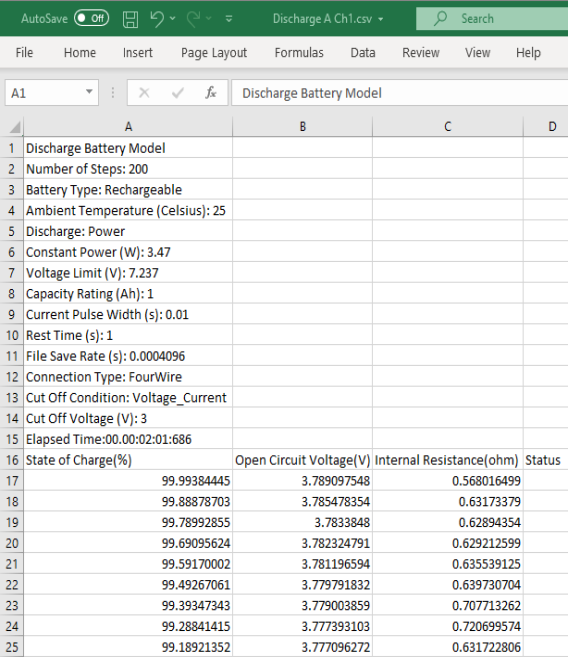
Step 3. Select a directory and filename in which to save the display data. The file format extension is ".csv" for comma-separated values.
The saved .csv file may be opened using a number of applications such as Microsoft Excel or a text editor.
Exporting Screenshots
Step 1. In the top section of each application window, select the Export icon ![]() . The following selections will appear.
. The following selections will appear.
You can send the display data to the clipboards as is, or send the display data to the clipboard with a white background.
Step 2. Select Export Screen Shot as Image. You can then send the image to your printer.
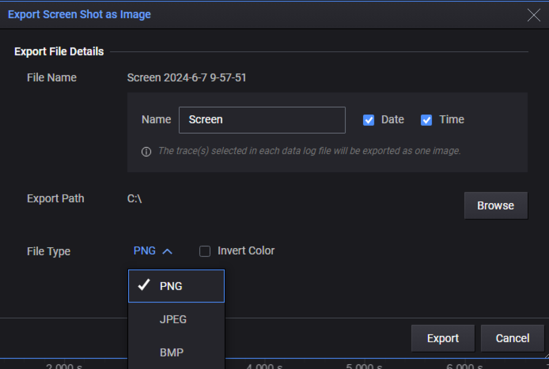
Export File Details - Specify a filename and file type (PNG, JPEG, or BMP). Specify any items to append to the filename (date, time, or file number).
Under Export Path, accept the default export path, or select the folder icon to specify a different location to save the file. Check Invert Color to send display data to the file with a white background.