Navigating Failed UIs
When mask scaling uses manual alignment and navigation of failed UIs is possible, the Navigation badge appears at the bottom of the display.
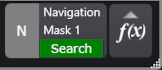
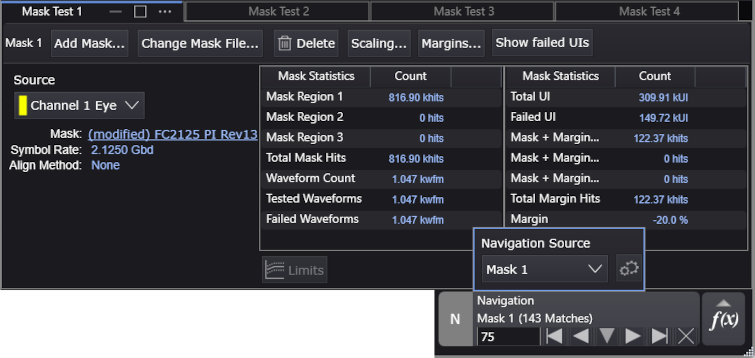
If there are multiple items that can be navigated, selecting the word "Navigation" opens a pop-up dialog box that lets you select the item to be navigated (and potentially open that item's setup dialog box).
To navigate failed UIs (which are recorded when scaling uses manual alignment) in the last acquired waveform when acquisitions are stopped:
-
Select the mask whose failed UIs you want to search by selecting the word "Navigation" in the Navigation badge and use the pop-up dialog box.
There can be multiple masks and other items to choose from.
You are able to navigate failed UIs for only one mask test at a time.
-
Click the Search button in the Navigation badge or select Show failed UIs in the mask results window.
This will stop acquisitions, highlight the first mask failure UI in the waveform window, and show navigation controls in the Navigation badge in place of the Search button.
Use the navigation controls to find and highlight other values in the most recent acquisition.
Use the number field to specify which found value you want to see in listing of decoded values and in the waveform window.
Up to 1000 failures can be navigated.
The following screen shows Mask 1's failed UIs being navigated.
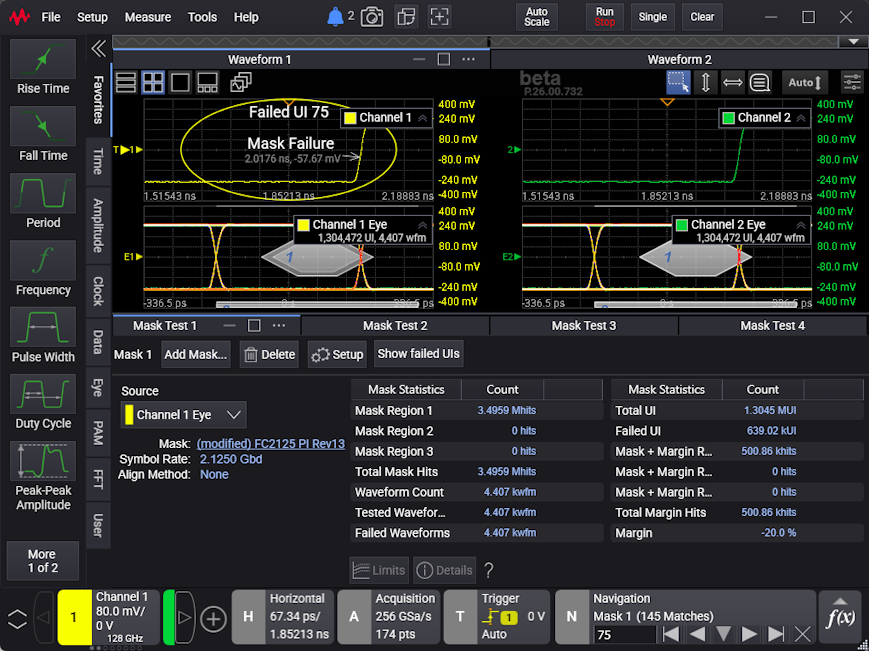
Annotations in the channel waveform window highlight the failed UI and the first point of the failure.
Also, the failed UI is highlighted in the real-time eye diagram.
When mask tests results are from multiple waveform acquisitions, you can navigate only the failed UIs that were in the last waveform acquisition.
To exit failed UI navigation
- Click the "X" exit button in the lower-right of the Navigation badge.
- Clearing the display or making another acquisition, for example with a Run or Single, also exits mask test failed UI navigation.
The acquisition state and waveform window scaling return to the values present before enabling navigation.