Connecting E5071C (Option 440/445/460/465/480/485) and E5092A
Connecting E5071C (Option 440/445/460/465/480/485) and E5091A
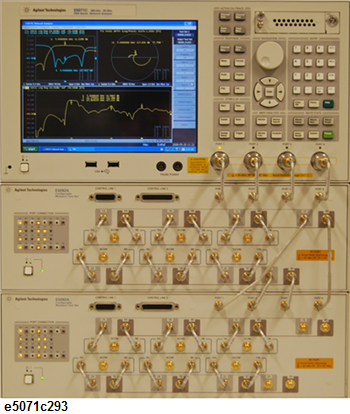
Other topics about Controlling Multiport Test Set
The devices required to connect the E5071C (option 440/445/460/465/480/485) to the E5092A configurable multiport test set are listed below:
E5071C (option 440/445/460/465/480/485)
E5092A (option 020)
Type-N to SMA coaxial adapter (included in the E5092A-08C for connection with the E5071C, Keysight part number: 1250-2879)
SMA semi-rigid cable (included in the E5092A-08C for connection with the E5071C, Keysight part number: E5092-61652)
USB cable (supplied with the E5092A, Keysight part number: 8121-1695)
For the rackmount usage, it is recommended to use semi-rigid cable (Keysight part number: E5092-61654, included in the E5092A-08C) for connection with the E5071C.
Connect the USB cable between one of USB ports on the E5071C rear panel and that of the E5092A.
Turn on the E5071C and the E5092A.
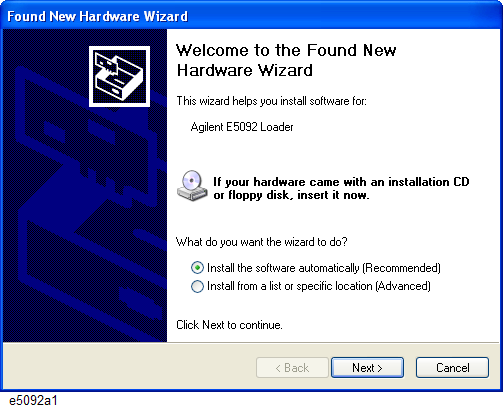
The Found New Hardware Wizard appears. Select install the software automatically, then click Next.
Click Finish.

The Found New Hardware Wizard appears again. Select install the software automatically, then click Next.
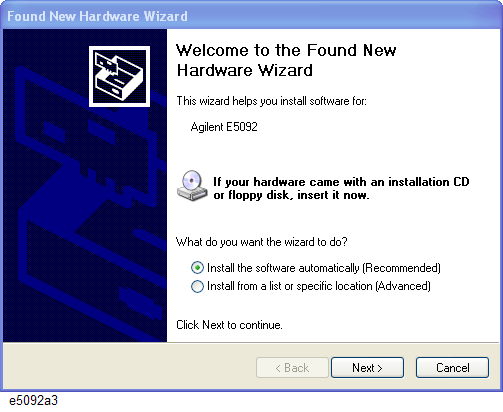
Click Finish.

After the E5071C detects the E5092A, the LEDs that indicate the connected test ports remain on.
E5071C should be reset once the multiport test set driver is updated.
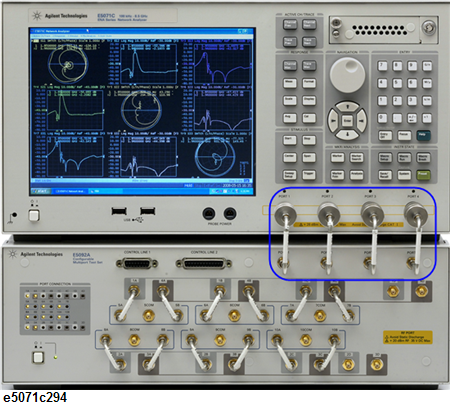
Connect the type-N to SMA adapter on the test ports (PORT 1 to 4) of the E5071C.
Connect the SMA semi-rigid cables between the adapters on the E5071C and the test ports (PORT 1 to 4) of the multiport test set. Make the connection so that the numbers of the ENA ports and the test set ports match.
The devices required to connect the E5071C (option 4D5/4K5) to the E5092A configurable multiport test set are listed below:
E5071C (option 4K5)
E5092A (option 020)
3.5mm (female) to 3.5mm (female) coaxial adapter (included in the E5092A-20C for connection with the E5071C, Keysight part number: 85027-60005)
Semi-rigid cable (included in the E5092A-20C for connection with the E5071C, Keysight part number: E5092-61653)
USB cable (supplied with the E5092A, Keysight part number: 8121-1695)
For the rackmount usage, it is recommended to use semi-rigid cable (Keysight part number: E5092-61655, included in the E5092A-20C) for connection with the E5071C.
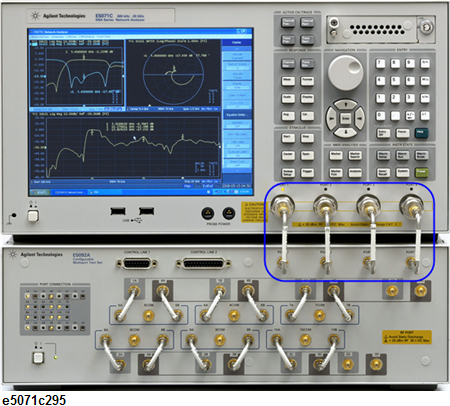
Connect the coaxial adapter on the test ports (PORT 1 to 4) of the E5071C.
Connect the SMA semi-rigid cables between the adapters on the E5071C and the test ports (PORT 1 to 4) of the multiport test set. Make the connection so that the numbers of the ENA ports and the test set ports match.
The devices required to connect the E5071C (option 440/445/460/465/480/485) to the E5091A multiport test set are listed below:
E5071C (option 440/445/460/465/480/485)
E5091A (option 009/016)
Type-N to Type-N cable (supplied with the E5091A option 009 or 016 for connection with the E5071C, Keysight part number: 8120-4782)
USB cable (supplied with the E5091A, Keysight part number: 8121-0770)
Connect the USB cable between one of USB ports on the E5071C rear panel and that of the E5091A.
Turn on the E5071C and the E5091A.
The Found New Hardware Wizard appears. Select No, not this time, then click Next.
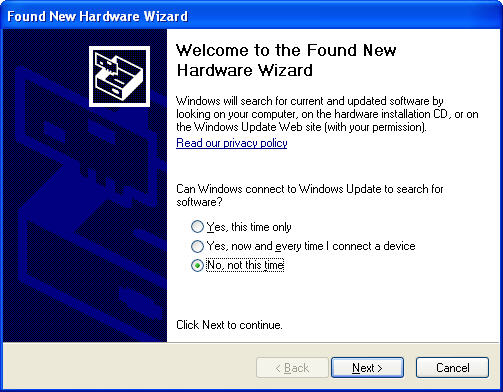
Select Install the software automatically, then click Next.

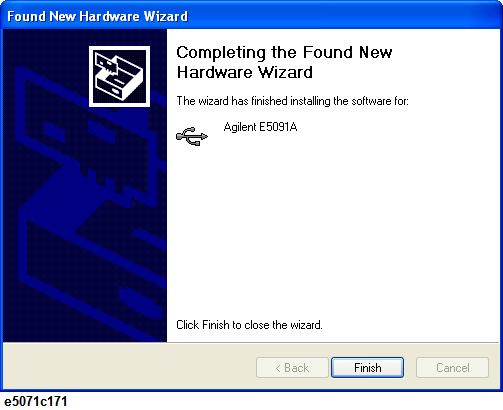
Click Finish.

The Found New Hardware Wizard appears again. Select No, not this time, then click Next.
Select Install the software automatically, then click Next.
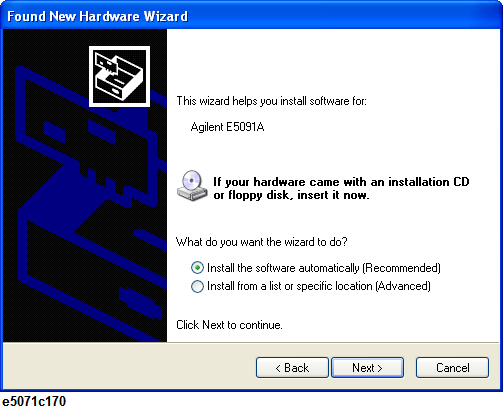
Select Keysight E5091A of Location C:\windows\inf\oemxx.inf (xx is numeric number e.g.: oem29.inf), then click Next.

Click Finish.
After the E5071C detects the E5091A, the LEDs that indicate the connected test ports remain on.
Do not switch on/off devices connected via the USB ports (front or rear panel) or connect/disconnect devices to the USB ports while the E5071C is measuring with the E5091A.
Even if you install the driver on a USB port, you will be asked to install driver again if you connect E5091A with a different USB port.
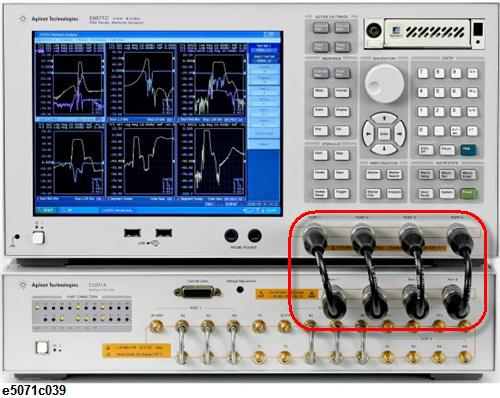
Connect the type-N cables between the test ports (PORT 1 to 4) of the E5071C and the test ports (PORT 1 to 4) of the multiport test set. Make the connection so that the numbers of the ENA ports and the test set ports match.
Up to two multiport test sets can be connected to one ENA for measurements with more multiple test ports.
Set IDs of connected multiport test sets to different values. The instruments will not work correctly if their IDs are the same. For more information, see Selecting ID for Multiport test Set.
Press System key > Multiport Test Set Setup to display the multiport test set setup menu.
Select Test Set 1 for the test set with ID 1 and Test Set 2 for ID 2.
The E5091A (option 009 and 016) and the E5092A (option 020) can be used at the same time.
When using a semi-rigid cable, connect the semi-rigid cable to a test port of the multiport test set with a specified torque using a torque wrench.
|
Specified torque |
5.7 kgf-cm/ 56 N-cm / 5 in-lb |
|
Recommended wrench |
Wrench (Keysight part number 8710-1582) |