This shows a sample measurement procedure with the M9164B Switch Matrix
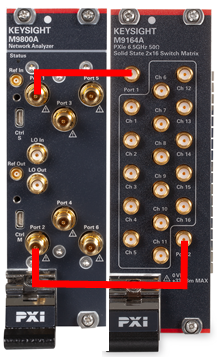
This example procedure uses the M980xA 6 port VNA and M9164B 2x16 Switch Matrix. This configuration provides up to 20 ports S parameter measurements.
Connect a cable between the port 1 of VNA and port 1 of switch.
Connect a cable between the port 2 of VNA and port 2 of switch.
4 pot Ecal (N4433A is used in this example)
Note: Only 4 or 2 port ECal is supported. Mech cal and N756xA multiport Ecal are not supported.
See also
Multiport Calibrated Measurements with Switch
Here is the steps for making a measurement. You will operate the console and VNA viewer alternately during setup and calibration.
Step 1. Execute VNA Application
Step 2. Setup Measurement Conditions
Define the Port Configuration by using Console
Define the channel setting by using Console
Setup the VNA parameters by the VNA Viewer
Step 3. Execute the calibration by using Console
Step 4. Make a measurement by using VNA viewer
Step 5. Save your setup by using Console
Install the driver for PXI Switch Matrix. The driver can be downloaded from the support page of Switch Matrix in Keysight.com
Execute the Network Analyzer launcher.
Select all required VNA and Switch Matrix modules, then click RUN.
Click Setup > Internal Hardware > PXI Device > Switch Matrix Calibration....
The console panel is displayed and the VNA application is closed.
Define the Port Configuration by using Console.
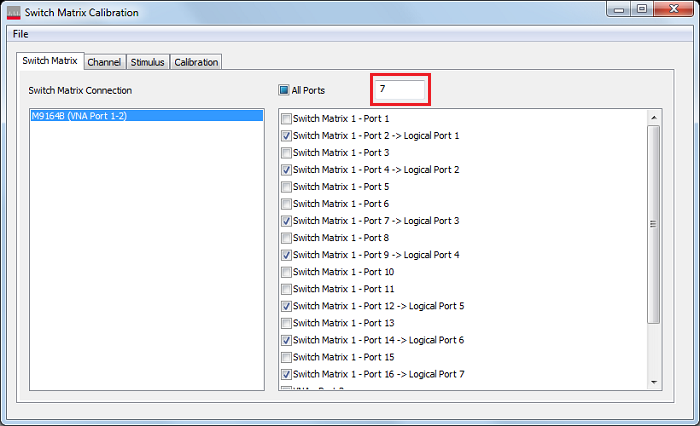
Switch Matrix Connection shows all installed switch matrix and its connection with VNAs
In this sample, (VNA Port 1-2) means that VNA ports 1 and 2 should be connected with M9164B ports 1 and 2, respectively.
Input your required number of port into the box. This application will select the port automatically. The suggested port selection will optimize the path for the calibration. When you want to use the specific ports, select them manually.
Define the channel setting by using Console
Select the channel tab,
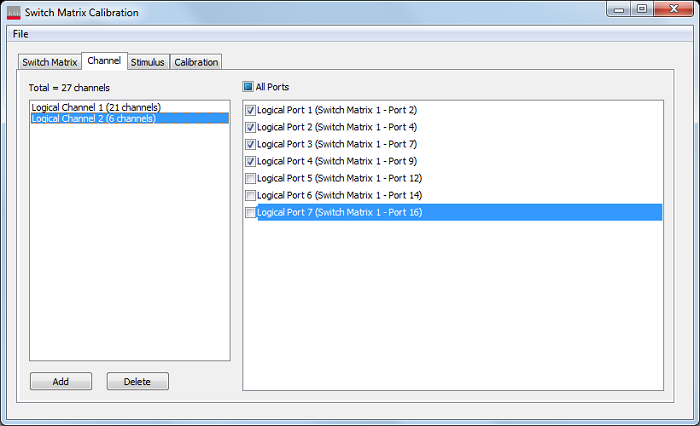
If you want to use several channels (several stimulus setup), click add.
If a channel requires fewer logical ports, uncheck the unnecessary ports. This may reduce time of calibration and measurements.
The number of channel shown in this dialog box is the actual number of used channel on the actual VNA application in the background.
Setup the VNA parameters by VNA Viewer
Select the Stimulus tab,
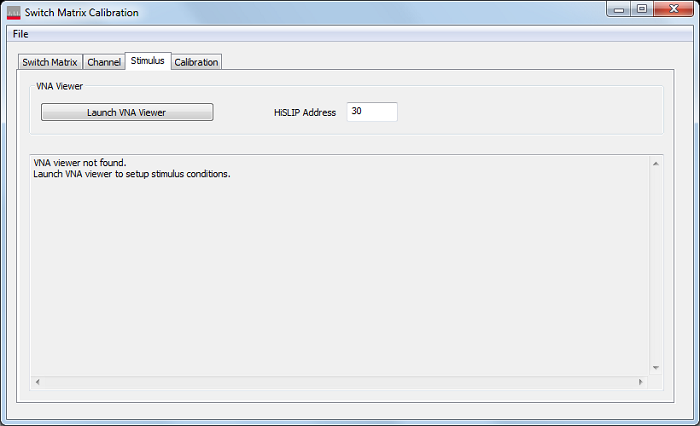
HiSLIP address: This address is used for the remote control.
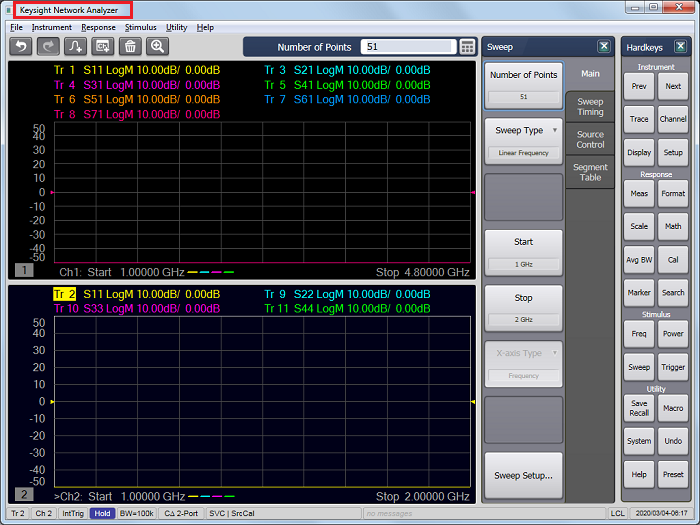
Click Launch VNA Viewer. The VNA application will be opened.
 \
\
VNA Viewer has the "Keysight Network Analyzer" in the title bar.
Setup the parameters according to your requirement. As the trigger is hold, the displayed number such as frequency in screen may not be updated timely.
Only standard class can be used.
Note: The settings remain even after the application reboot.
Click the Console to show.
Select the Calibration tab.
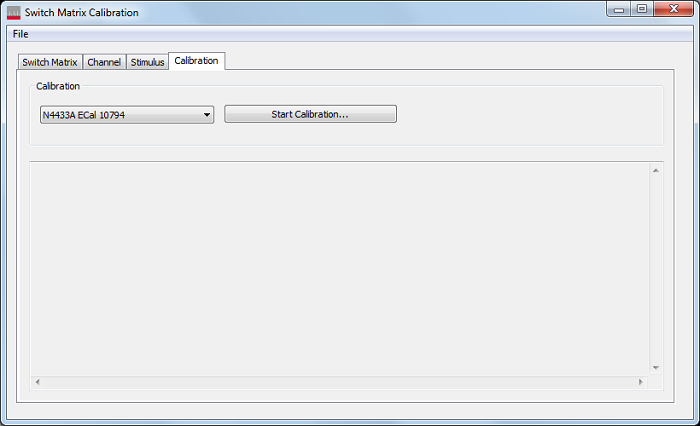
Select the ECal and click Start Calibration.
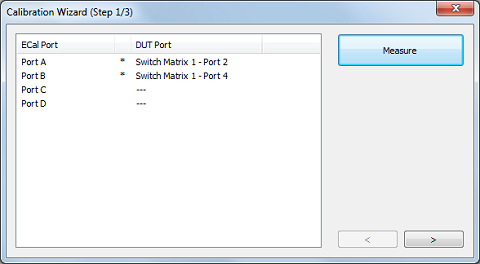
Calibration Wizard dialog box is displayed. Connect the Ecal and the port for VNAs according to the list. The automatic port orientation is not available, so that the connection must be followed by the instruction.
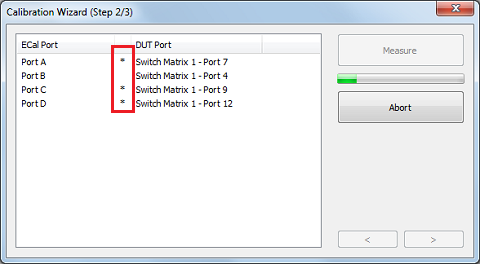
The asterisk shows the new connection. The connection without asterisk has the same connection with the previous calibration step. In this example, the Ecal port B has the same connection with the one in the step 1.
Click the VNA viewer to show.
Connect the cables with your DUT.
As the trigger is hold status, make a trigger to measure.
Some softkeys such as the one related with stimulus cannot be changed. They are grayed out.
Click Close Viewer button on the console to close the VNA viewer. Do not use the close icon on the VNA Viewer.
When you save the setting, open the console.
Save the setting from File menu. Do not use the save menus in the VNA viewer . They are grayed out.
Must enable Remote Drive Access under System > System Setup > Remote Interface...