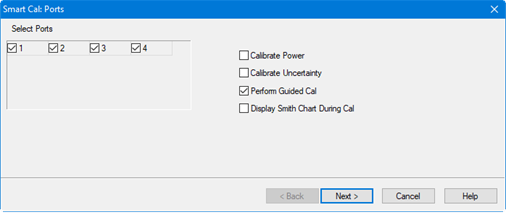
The procedure in this topic describes how to perform a calibration using the Smart Cal method. This is an example of one way to calibrate the system. There are others available. The example includes source and receiver calibration. This requires a power meter and appropriate power sensor. There must be an Installation Calibration on the system to perform the source and receiver calibration.
.
Press Cal > Main > Other Cals > Smart Cal... to launch the following dialog.

Select the type of calibration under Cal Type Selection.
Select the desired ports under Select Ports.
Select Calibrate Power to perform a power calibration. Disabled by default. Learn more.
Select Calibrate Uncertainty to include measurement uncertainties from calibration.
Select Perform Guided Cal Check to perform a Guided Power Calibration. Learn more.
Select Display Smith Chart During Cal to display reflection measurements on a Smith Chart during calibration.
Click Next.
Select the waveguide connector for each port under DUT Connectors. The DUT connector and cal kit information is in a file supplied with the cal kit. See Manage Cal Kits for information on how to import a cal kit.
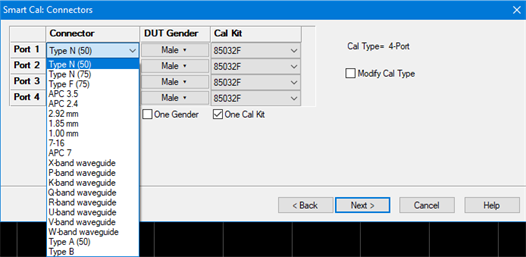
Click Next. The Power Cal Settings dialog is displayed.

The Tolerance should be set to >- 0.25 dB for the 60-90 GHz millimeter system.
In the Power Cal Settings dialog, click on the Power Meter Settings button and confirm that the power meter address is correct.
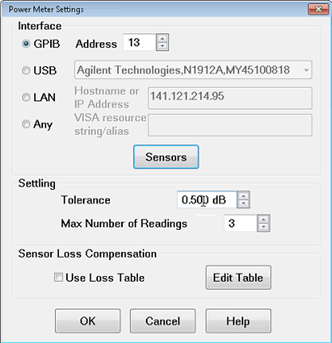
In the Power Meter Settings dialog, click on the Sensors button. The Connect Power Sensor dialog is displayed.
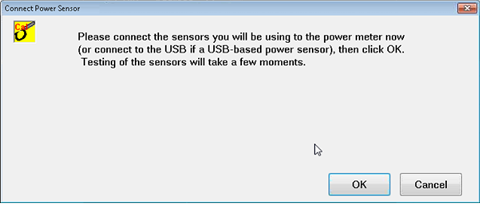
Click OK in the Connect Power Sensor dialog to access the Power Sensor Settings dialog.
Confirm that the power sensor has been detected as shown in the Power Sensor Settings dialog.
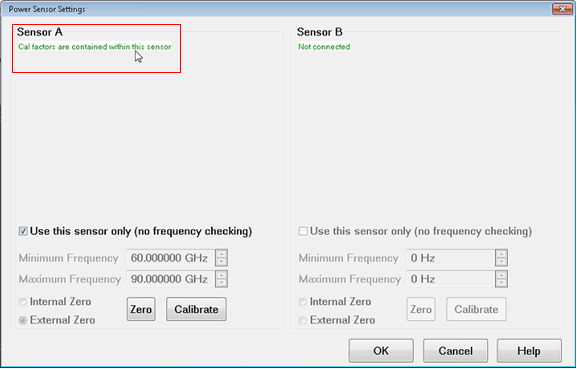
Zero and Calibrate the power meter as necessary.
Click OK in the Power Meter Settings dialog to return to the Power Cal Settings dialog.
Click Next. The Guided Calibration Step 1 of 11 dialog is displayed.

Set the Power Level to something lower than the lowest value for the maximum output power of the millimeter wave head. If the power level cannot be achieved, errors will result.
Connect the power sensor to Port 1 then click Measure.
Follow the on-screen prompts to complete the calibration.
When finished, click on the Save As User CalSet button to save this calset to a file.