How Do I Configure Test Signals in CW Operating Mode?
Last updated: January 15, 2009
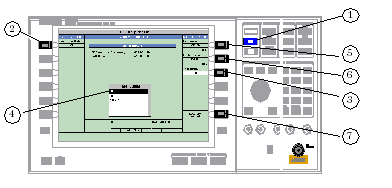
- Press the CALL SETUP key.
-
Press the
Operating Mode( F1 ) key and set the operating mode toCW. -
Press the
Test Signal( F9 ) key to select a signal for output to the front panel RF connector currently selected. See Front Panel Connectors to select either RF IN/OUT or RF OUT ONLY connector. -
Select a test signal from the menu and confirm the selection by selecting Yes in the dialog box.
NOTE Changing test signal requires several seconds to complete.
- Press the
Cell Power( F7 ) key and set the signal output power level to meet your testing needs.- Press the
RF Gen Freq( F8 ) key and set the signal output center frequency to meet your testing needs.- Press the
Receiver Control( F12 ) key and manually set the test set's receiver control parameters (such as expected CW power, measurement receiver frequency, and reverse link receiver frequency) to the desired values (see Manual Receiver Control ). - Press the