Dialog Window Features
Configuring the 89600 VSA is mostly accomplished by interacting with dialog boxes.
Most dialog windows in the VSA are non-modal but some dialogs do require you to close them before continuing. Examples of these are the Print dialog and the Save/Recall file dialogs.
The following sections contain some information that is specific to the dialog windows in the 89600 VSA software.
Configurable Tabs
By default, Dialog window tabs are located on the left side of the window and expanded to show the full names of the tabs, as shown below. You can collapse the tabs to hide the full tab names to save space if desired by clicking ![]() .
.
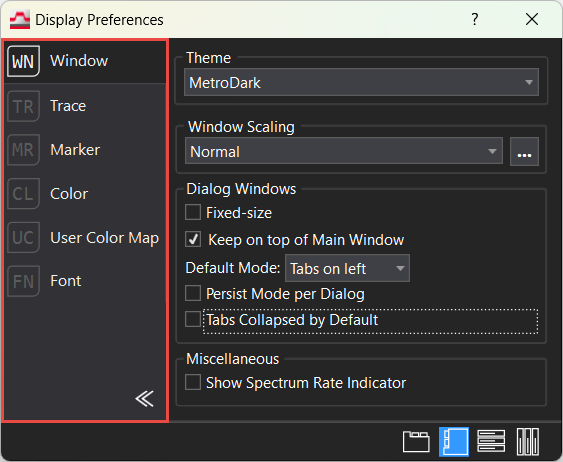
You can change the tab layout by clicking a different tab layout icon at the bottom right of the dialog window:

You can also change the default Dialog Window settings in Utilities > Display Preferences > Window.
Dialogs on top of the Main Window
Normally, dialog windows in Windows applications stay on top of the main application window until they are specifically closed by clicking an OK or Close button. By default, the dialog windows in the VSA application do not overlay the application except when they are first opened. When you click a part of the VSA main window, the main window will be brought to the top, and any dialogs positioned within the main window area will be obscured. You can ensure that dialogs do not go behind the VSA main window by selecting in Utilities > Display Preferences > Window.
A good practice to follow for frequently-accessed dialogs is to move the dialogs away from the main window so that a portion of each dialog box is always visible, even when the focus shifts to the main application window. This way, you can click the visible part of the dialog to bring it to the front.
You can bring hidden dialog windows to the front using the Windows task bar or by pressing Alt-Tab to scroll through open windows and dialog windows.
Numerical Text Box Input
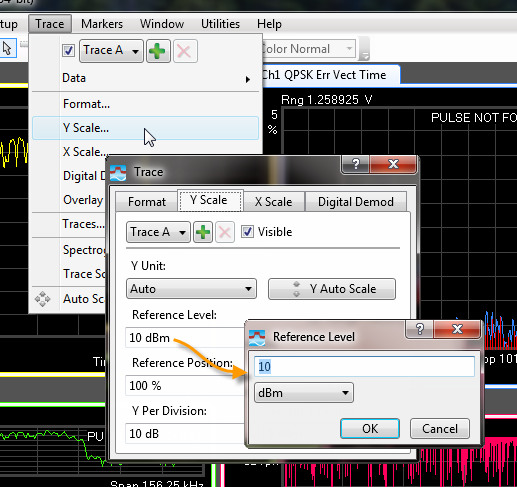
Numerical input frequently requires both a numerical value and a unit. In this case, a secondary dialog window opens when you modify a field that contains a numerical value.
For example, to set the y-axis reference level, you click and select . This opens the dialog window. Double-clicking in the fields opens a second dialog window allowing you to specify a number and a unit.
When the number you enter is not valid for a parameter, the VSA will use the closest valid setting.
Trace hotspots also use the numerical input dialog. The first click on a trace hotspot (e.g. Center) highlights the field. You can either start typing or double-click the field. In either case, an input dialog opens ready to receive the value and units you wish to change.
You can change the value of some text boxes by using the keyboard arrow keys or the mouse wheel. Press ↑ or ® to increase the value, and ¯ or ¬ to decrease the value. Rolling the mouse wheel can also be used to increase or decrease the value. The step sizes vary for each field.
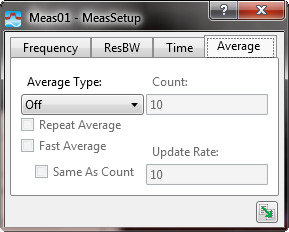
Disabled parameters
Dialog window fields are greyed when the field cannot currently be selected or changed. This can happen when the field is not supported by the current hardware or because of other measurement settings. For example, on the tab shown as follows, the Average parameters are greyed because is set to .