This section explains how to set the measuring conditions.
Other topics about Basic operations
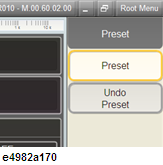
Press the Preset key on the right corner of the front panel.
Click the Preset softkey to preset the E4982A to its initial set state, which is also known as Preset state.
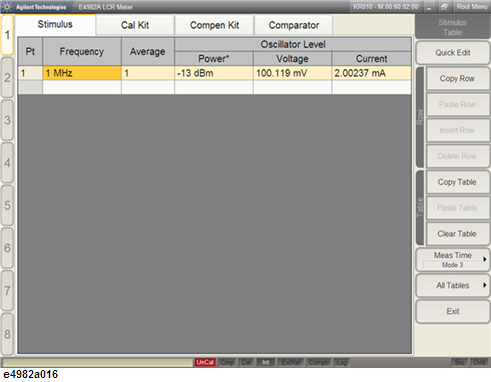
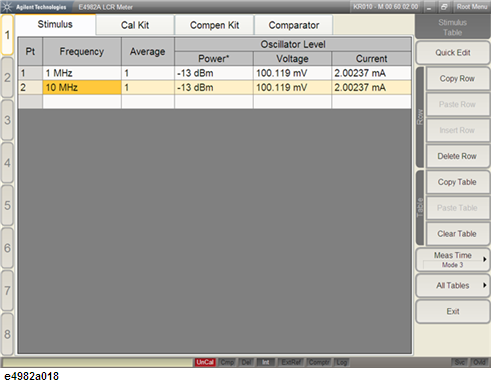
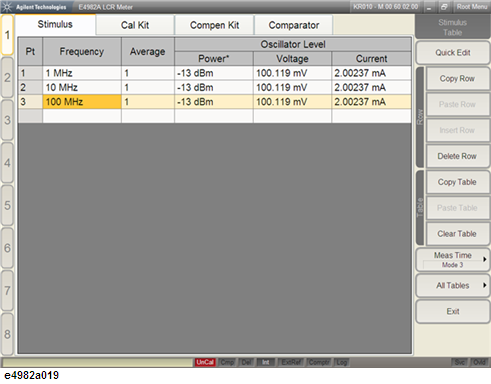
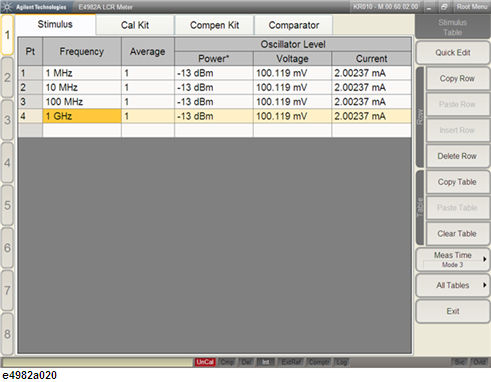
With the E4982A, you must enter the desired measurement point along with its conditions in the measurement point setup display before starting measurement. The following procedure shows a case when four measurement points with different frequencies (i.e., 1 MHz, 10 MHz, 100 MHz, and 1 GHz) are set up.
For all four points, the averaging factor is assumed as 1 and the oscillator level as -13 dBm.
Refer to How to Change Oscillator Level to learn how to change the oscillator level and its unit.
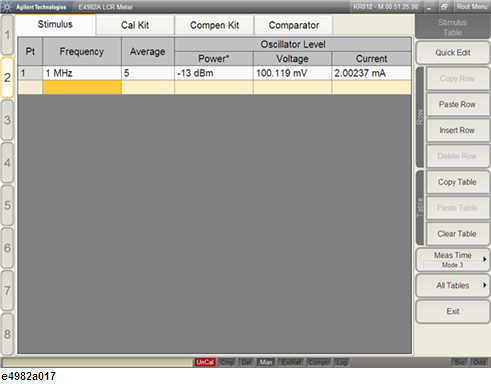
Refer to How to Change Averaging Factor to learn how to set the averaging factor.