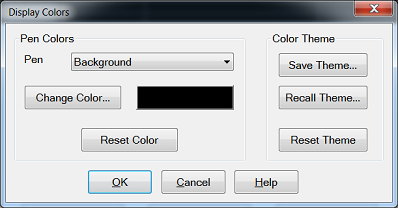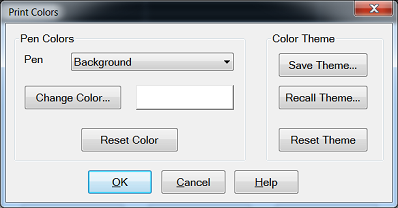
You can modify the colors that are used to draw various elements on the VNA screen and on a hardcopy print of the display.
How to modify Display Colors |
|
Using Hardkey/SoftTab/Softkey |
|
|
No programming commands are available for this feature. |

How to modify Print Colors |
|
Using Hardkey/SoftTab/Softkey |
OR
|

|
The Display Colors and Print Colors dialog boxes function in exactly the same manner. See Print Preview procedure below. Pen "Pen" is a term used to describe the various elements. Each pen can have a unique color. You can change the color of the following pens:
'1st Trace' is NOT always Trace1 (Tr1). For example, the first trace in a window might be Tr2 which is drawn with the "1st Trace" pen. The first 8 traces are drawn with the defined pen colors. The next eight traces reuse the same colors, and so forth. For example, if all traces are numbered sequentially, the 9th and 17th traces are drawn using the same color as the 1st trace. Change Color - Click the button or the color swatch to launch the Change Color dialog. Reset Color - Restores the default color for the selected pen.
Color Themes A theme is a complete set of pens and their colors. The current theme persists until you change it. Themes can also be saved to a file and then later recalled. By default, the file is saved in internal hard disk in the C:\ProgramData\Agilent\Network Analyzer\Colors folder with save type as *.colors.
The colors for the following Display elements can NOT be changed: toolbars, softkeys, menus, dialogs and popup messages. |

|
To use a basic color, click the color from the 'Basic colors' pallette and then click OK. To define and use a custom color:
After a custom color has been assigned to a VNA pen, the custom color can be changed. The VNA pen color remains unchanged. |
Use the following procedure to preview your Print Colors on the VNA screen:
From the Print Colors dialog box, select Reset Theme and then Save Theme.... Name the new theme “MyPrintTheme.colors”. This will give you a starting point equal to the default print colors.
Launch the Display Colors dialog box, select Recall Theme, then select “MyPrintTheme.colors”. The display will now show the default print theme.
Customize the display colors. You will be previewed how the hardcopy will appear when printed.
Save the customized display colors to “MyPrintTheme.colors”.
Go to the Print Colors dialog box and recall “MyPrintTheme.colors.