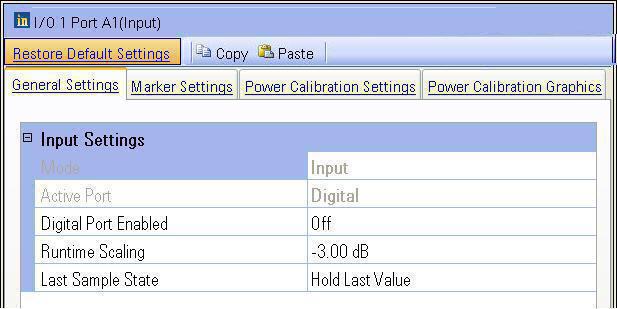
The Input I/O setup pane is comprised of two buttons and four tabs located at the top of the page.
Click a button in the graphic below to link to the button description.
Click a tab in the graphic below to link to the settings descriptions for the tab.
The four tabs are:
General Settings is used to set up the input I/O port.
Marker Settings is used to set up the marker settings for the input I/O port.
Power Calibration Settings is used to set up the power meter settings for the input I/O port.
Power Calibration Graphics displays an illustration showing some important power calibration parameters.
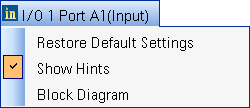
The name of the block (in this case, I/O 1 Port A1(Input)) is displayed
at the top of the setup pane. This name was assigned when the configuration
was selected. The name was confirmed when the external instrument connected
to the port was assigned in the Assign
External Instrument dialog box. This input I/O port is also displayed
in the External
Instrument Table and the block diagram. When
the  name is selected,
additional choices, including a selection to show or hide the Hints area,
are displayed.
name is selected,
additional choices, including a selection to show or hide the Hints area,
are displayed.