Configuration Wizard
is used to configure the I/O interface for the signal generator.
Configuration Wizard
is used to configure the I/O interface for the signal generator. Installation Steps: 1 2 3 4 5 6
After starting the Toolkit software, the Configuration Wizard
is used to configure the I/O interface for the signal generator.
Turn on the equipment and, if necessary, the computer.
Start the software.
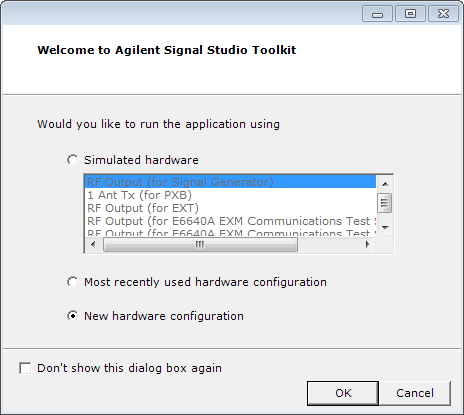
Establish communications between the software and the
equipment by first selecting in the Welcome
dialog
(System Configuration Wizard) that appears.
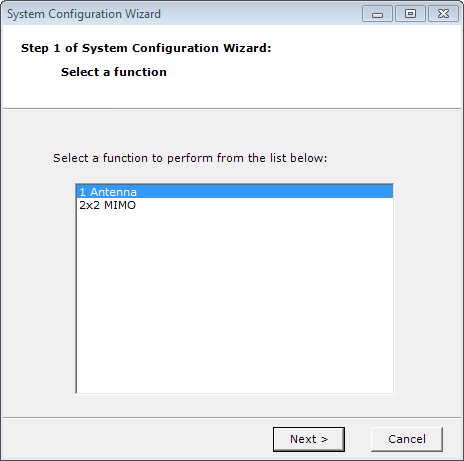
Establish the type of communications system you will be testing by making a selection from the list (1 Antenna or 2x2 MIMO) in the Select a function
dialog
(System Configuration Wizard) that appears, then click .
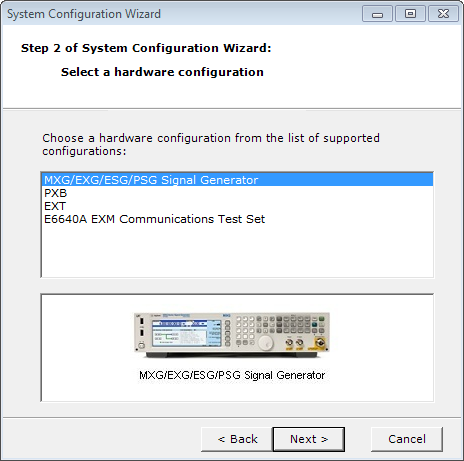
Select a hardware
configuration
from the list (ESG/PSG/MXG + Internal Arb, PXB, EXT, or E6640A) then click . If you selected 2x2 MIMO in the previous step, E6640A will be the only selection available.
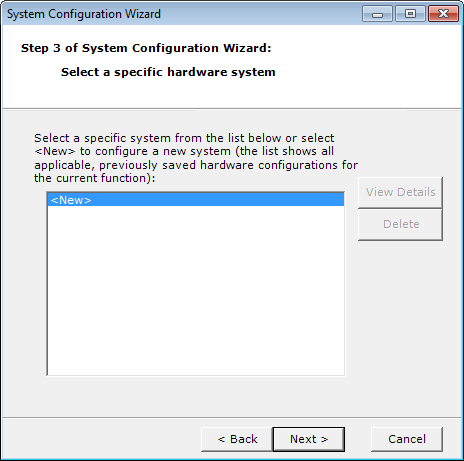
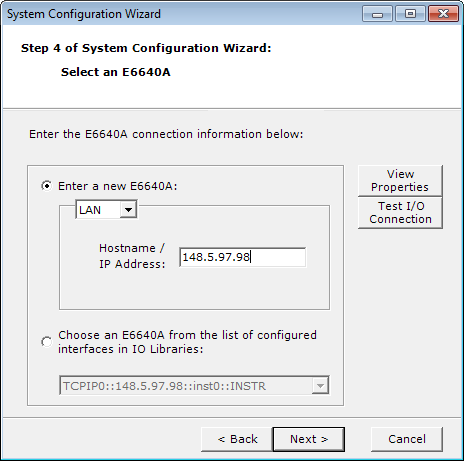
Select <New>
and click .
Enter the GPIB or LAN address
for the signal generator.
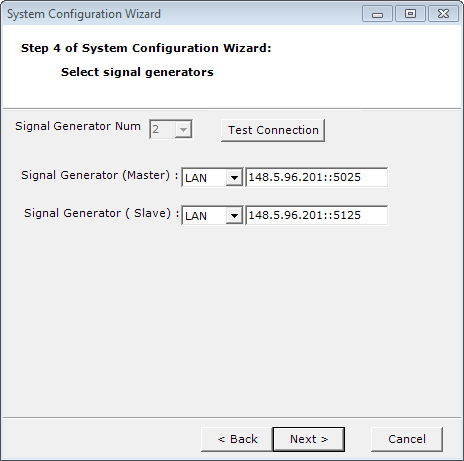
If you are configuring communications for the E6640A, the port number must be appended to the IP address (5025/5125/5225/5325 are the port numbers for TRX 1- TRX4 ). For example, the valid address for module TRX1 would be <IP address>::5025.
If you selected 2x2 MIMO in the step 4, you must enter two (2) IP addresses. The options are either TRX1 as master + TRX2 as slave or TRX3 as master + TRX4 as slave.
To find the signal generator's LAN information, (IP address/hostname), press the following front panel keys:
To find the signal generator's GPIB address, press the following front panel keys:
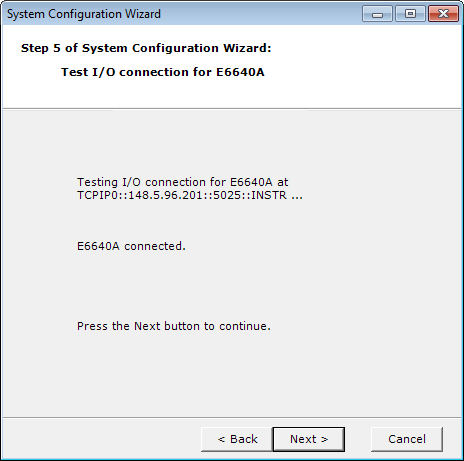
Click the
button to automatically check the I/O connection
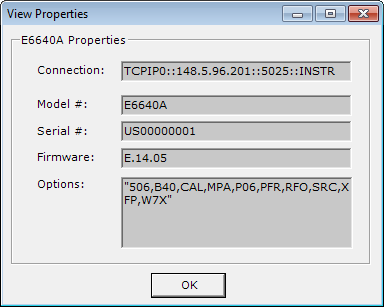
of the signal generator. Press the button to check the signal generator properties.
Click to continue.
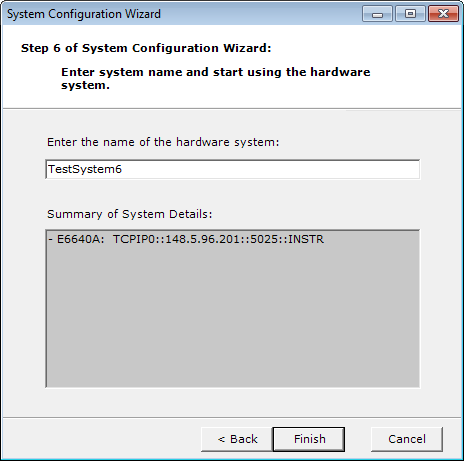
Enter a system
name
and click Finish to save the current setup.
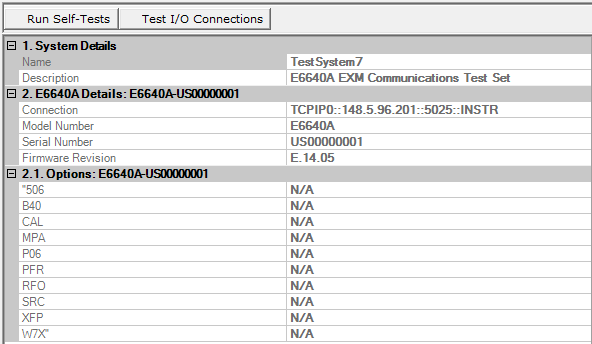
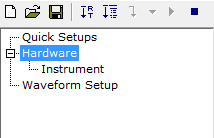
After making the connections you can view the system details
by selecting in the tree view,
or by pressing the View Details button in the Configuration
Wizard.
Run Self Test to make certain the system is configured correctly.
If the connection fails, or for help with error messages, refer to Troubleshooting.