Turn on the instrument and the computer.
Start the Signal Studio software.
Establish communications between the software and the
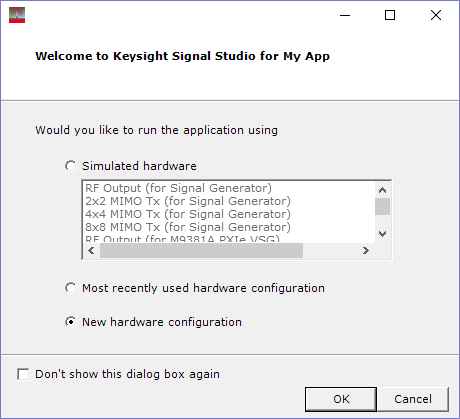
instrument by first selecting New hardware
configuration in the ![]() Welcome
to Keysight Signal Studio... dialog box
(System Configuration Wizard) that appears.
Welcome
to Keysight Signal Studio... dialog box
(System Configuration Wizard) that appears.
Click OK and follow the remaining prompts. (Be prepared to enter the instrument's IP/GPIB address.)
If you are running Signal Studio on a PC connected to a signal generator, refer to the following table to locate the instrument's address (LAN/GPIB) or hostname (LAN only):
|
Connection |
Signal Generator |
Key Path |
|---|---|---|
|
LAN |
|
Utility > I/O Config > LAN Setup > Manual Config Settings |
|
ESG PSG |
Utility > GPIB/RS-232 LAN > LAN Setup |
|
|
GPIB |
|
Utility > I/O Config > GPIB Setup |
|
ESG PSG |
Utility > GPIB/RS-232 LAN > GPIB Address |
1 Signal Studio accepts either the LAN address or hostname. So if you want to use the hostname, just enter the hostname into the software's Hostname/IP Address field.
If the connection fails or for help with error messages, refer to Troubleshooting.
After making the connection, you can view the instrument's information by selecting Hardware in the tree view.
Install the software license (see Installing the License).
