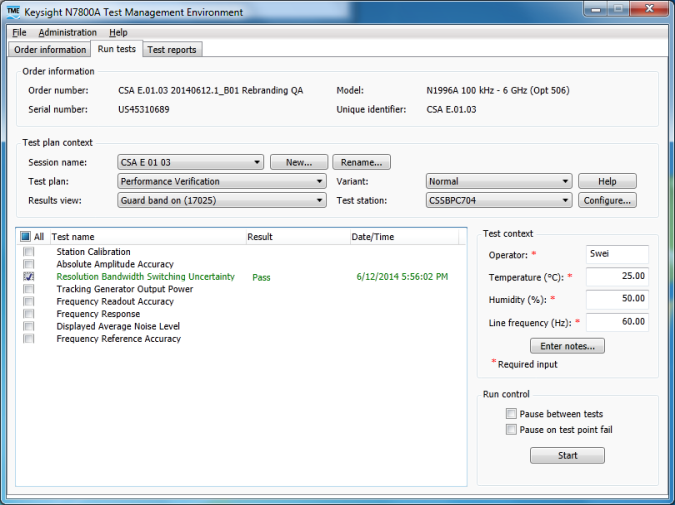
A session must be created before tests can be run.
A session is a convenient way to group related test run data within an order. By default, the first session name for an order will be As Received and the second As Shipped. Both these default names may be changed by the user, either in the New Session dialog or by choosing Rename Session from the Run tab.
|
|
A session must be created before tests can be run. |
The session section of the Run Tests page can be used for three things:
Create a new Session Name
Select from a list of existing Session Names
Rename a selected Session Name

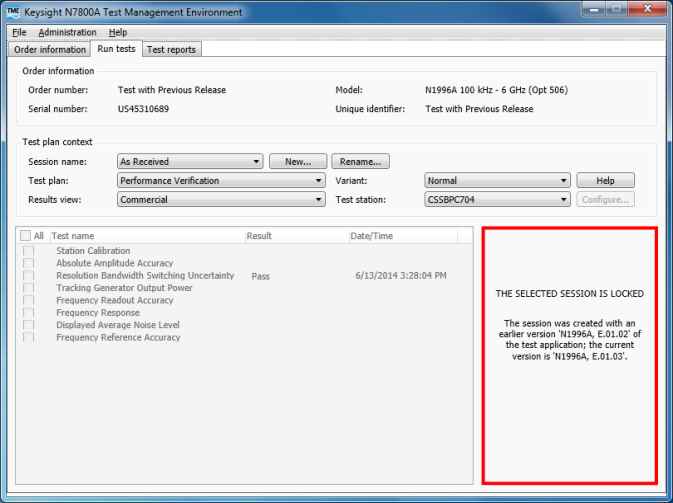
Sessions can be locked under certain conditions such as when the instrument options have changed since the session was created, or if there is a mismatch of application version. In the example below, the session was created using an earlier version of the current application version.
If a session is locked, no further tests may be run within the locked session but all existing data created within the session can be retrieved via the Test Reports tab. After changing UUT options, a new session must be created to allow further tests to be run. See the Order Information Tab section for more details on options and locked sessions.

Select the New Session... button. As Received is the default Session name.
Type a new name over the default name; for example, After Repair.
Click OK or Cancel when done.
Existing sessions may be selected from the list in the Session Name drop-down field.
Notice in this example there are two sessions: After Repair and As Shipped. If After Repair is selected, it will replace As Shipped as the open session.

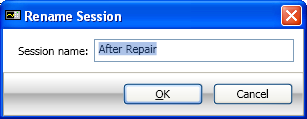
To edit the selected session, click the Rename... button. This opens a dialog box that allows the selected session name to be changed.

Notice the text in the Rename Session dialog box is highlighted and can be edited.
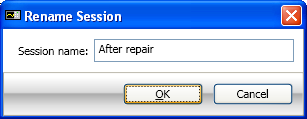
Type in a new session name; for example After repair.
Click OK or Cancel when done.

The next step after selecting the session name is to select the Test Plan information.

Test Plan Information can be found below the Sessions area in the Run Tests view.

The Administrator must configure at least one Test Station to enable a Test Plan to be selected and any tests to be run. The Test Station in the image above is named ESA. A Test Station is a collection of supported electronic test equipment (ETE) set up by the Administrator of the system.
A Test Plan is a related group of tests for performing specific functionality. The most common are Performance Verification, Adjustments, and Utilities. Depending on which Test Plan is selected, the number and names of tests that can be run will vary. Here are 3 examples:


The Variant field is for choosing variations of the standard test plan. There will not necessarily be variations for each test plan. Creating a subset of test points for a test or creating a subset of tests are two uses for the test plan Variant. See each application’s Test Plan help for further information on whether different variants are supported.
The Results View selection affects how the test results are displayed. Selecting a results view sets, or enables, the guard band for determining the result of a calibration measurement. The license type you have for your UUT determines the availability of the selections. If you have a Commercial license, only the Commercial choice is available; all other choices appear grayed out and are unavailable. A Commercial results view does not utilize guard band or account for measurement uncertainty. A Standards license or a PC Seat license enables results views that do utilize guard band and account for measurement uncertainties
The available results view selections are dependent on the current open order product-type. Depending upon the product type, you may see one of two sets of choices, as shown below.


|
|
The Results view selection is also available on the Reports tab allowing you to select a different view for printing reports than the view for displaying test results on the Run tests tab. Click here to go to the Results View Selection table. |
Test Plan information relevant to the UUT can be found by clicking the test plan help button.

Within the Help, information can be found on individual performance verification tests, adjustments and utilities. Test equipment required and any other requirements specified by that product will also be included in the Test Plan Help.
After a test plan has been selected, a test station needs to be selected. A Test Station is simply a group of electronic test equipment (ETE) available for testing your products. The administrator must configure at least one Test Station to enable any tests to be run.
|
|
On a network installation, two users cannot use the same test station at the same time. |
The device types available for the current test plan can be viewed and selected by clicking the Configure Equipment button.
For more information see, Configure Test Equipment
