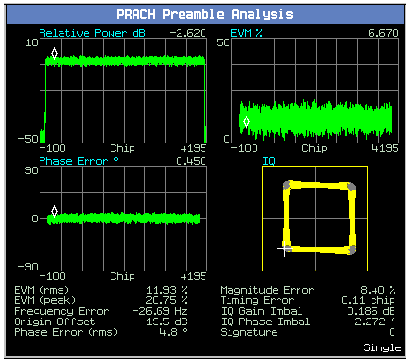
How Do I Make a PRACH Preamble Analysis Measurement?
Last updated: January 15, 2009
This section is only applicable to the lab application.
Measuring PRACH Preamble Analysis
- Power the UE on and wait for it to camp to the test set, but DO NOT establish a connection between the UE and test set (see How Do I Set Up a Call and Make a Connection? ).
-
Press the right
More
key until you reach the
Call Parms 2 of 3menu. Ensure thatCall Limit State( F2 ) is set toOff. -
Press the left
More
key until you reach the
Call Control 2 of 5menu. SelectUplink Parameters( F4 ). - Set the PRACH Signature parameters as needed.
- Set PRACH Preambles to at least 3.
-
Set
Available Subchannels (Bit Mask)
to specify only one available subchannel. Select
Close Menu( F6 ). - Press the Measurement selection key.
-
Select the
PRACH Preamble Analysismeasurement. -
Select
PRACH Preamble Setup( F1 ) and set the measurement parameters as needed. SelectClose Menu( F6 ). -
Set
Cell Power( F7 ) as needed. - Press the START SINGLE key to begin the measurement.
-
Select
Graph Control( F2 ). -
Select
Axis Control( F1 ). Set the axis control parameters as needed. SelectReturn( F6 ). -
Select
Marker( F2 ) to turn on the marker on the graphical displays.
-
Select
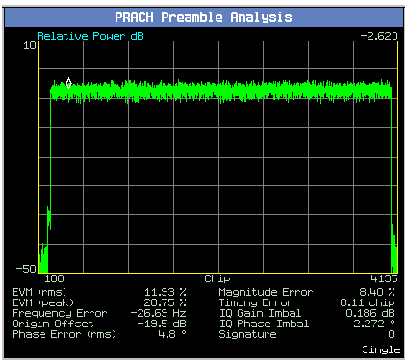
View Select( F3 ) and thenZoom View( F4 ) to zoom on one of the graphical display results.

Related Topics
PRACH Preamble Analysis Measurement Description