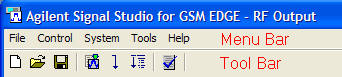
Click an icon or a command in the menus shown below to view the description.
|
File |
Control |
System |
|
|
||
|
|
|
|
|
|
|
|
Tools |
Help |
|
Options |
|
 sets the software to its standard initial state
using the current hardware
configuration. The window name changes to Untitled.
Rename and save the new
setup as a settings (.scp) file (saving only the software
parameters), or as a Quick
Setup (saving the current hardware and software parameters).
sets the software to its standard initial state
using the current hardware
configuration. The window name changes to Untitled.
Rename and save the new
setup as a settings (.scp) file (saving only the software
parameters), or as a Quick
Setup (saving the current hardware and software parameters).
 opens a saved settings (.scp) file.
Opening a settings file configures the waveform data
parameters for use with the currently selected hardware.
opens a saved settings (.scp) file.
Opening a settings file configures the waveform data
parameters for use with the currently selected hardware.
If you have made parameter changes, a window opens that enables you to save the changes to a quick setup.
To use a settings file with a different hardware configuration, select Change Hardware Connections, or Run System Configuration Wizard and re-configure the hardware.
Use Quick Setups to open a saved settings file that includes the hardware connection and software settings.
 saves only waveform data
settings to a specified settings (.scp) file. Settings
files do not contain the hardware configuration data. When you save a
file, it is added to the top of the Most Recently Used Files list.
saves only waveform data
settings to a specified settings (.scp) file. Settings
files do not contain the hardware configuration data. When you save a
file, it is added to the top of the Most Recently Used Files list.
To save a settings file with a specific hardware configuration, set up the hardware using Change Hardware Connections, or Run System Configuration Wizard then use Quick Setups to save the hardware configuration with your waveform setup.
When using Windows Vista operating system, saved settings files (*.scp) are not shared between different users on the same PC unless saved to a common location accessible to all users.
saves
an encrypted waveform file (with a .wfm
extension) to your PC. The file includes the settings and parameters from
the Waveform Setup,
Carrier, Timeslot, and Data nodes (Basic Data or Advanced
Data). This waveform file can then be downloaded and played in other
licensed instruments or ADS design libraries. If a waveform is configured,
but has not been generated, this selection also generates the waveform.
Refer to the example of Export
Waveform Data for the  signal generators.
Do not use spaces in the file name for an exported waveform. The underscore character is allowed.
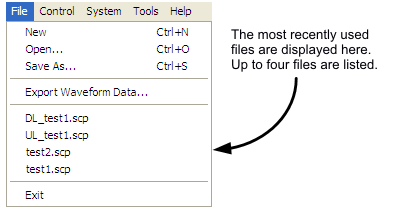
displays the four most recent settings files that were either opened with Open... or saved with Save as.... The settings file used most recently is added to the top of the list. Deleting a settings file does not immediately remove it from the list. Selecting a deleted settings file displays an error and then removes the file from the list.
If you have changed hardware parameters, but have not changed waveform setup parameters, you are not prompted to save changes when closing or exiting the software. To save hardware parameter changes, you must use the Save As Quick Setup button.
stops and closes the software. If you made any
waveform setup changes, a dialog box opens asking if you want to save
the changes as a quick setup before exiting. The close button
performs the same function as selecting .
 generates and downloads a waveform to the connected
instrument(s).
generates and downloads a waveform to the connected
instrument(s).
When a power-sensitive DUT is connected to the instrument, ensure that the RF power is off before downloading a waveform.
 generates a waveform. Use this function to check for waveform errors before
downloading or exporting the waveform.
generates a waveform. Use this function to check for waveform errors before
downloading or exporting the waveform.
 sends the current instrument configuration
to the connected instrument(s). If the configuration
is not received by the instrument, an error message appears.
sends the current instrument configuration
to the connected instrument(s). If the configuration
is not received by the instrument, an error message appears.
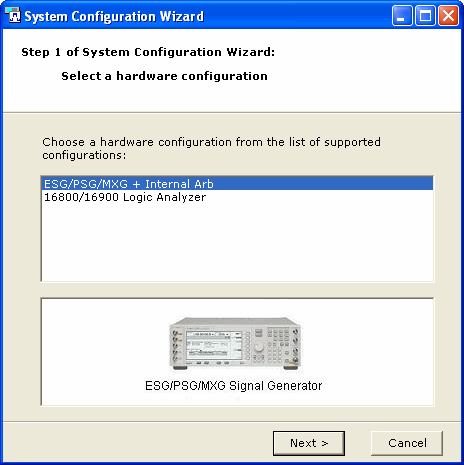
opens Step 2 of the System Configuration Wizard, where you can select a previously saved hardware configuration, or define and save a new hardware configuration.
enables you to configure your system component connections and
save the hardware configuration for later use. Use the System Configuration Wizard
to set up a new instrument connection; use Quick Setups to save a new setup or to select
a saved setup that includes hardware connections and software settings.
 opens and closes the
Status Window.
opens and closes the
Status Window.
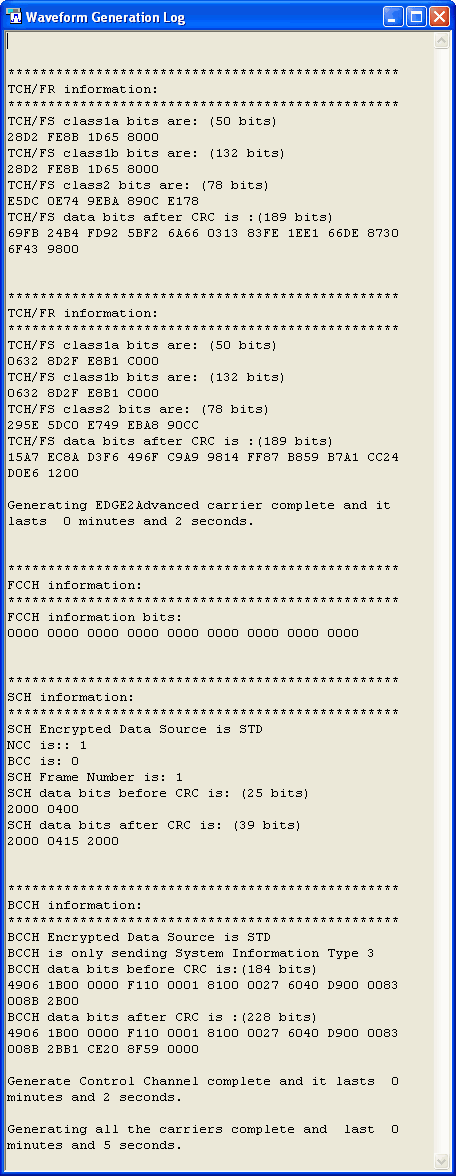
Use the Waveform
Generation Log
to create a summary of the generated waveform's information.
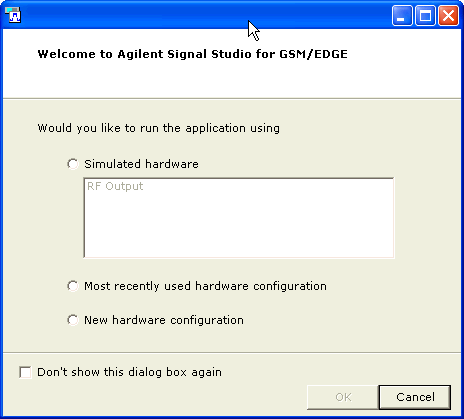
lets you enable or disable the welcome
dialog
display.
opens the Help system and displays the table of contents.
opens the Help system and displays the table of contents.
opens the Help system and displays the Index.