Trigger Advanced Setup Tab
Advanced Trigger Setup
The Advanced Trigger Setup tab of the Trigger dialog allows you to specify trigger Hysteresis, Slope, and Minimum Timebase Position.
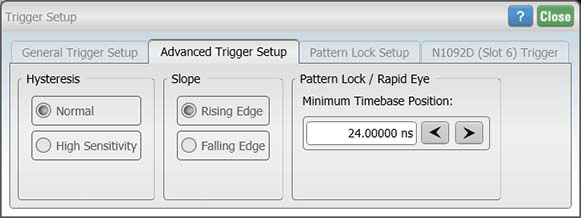
On Option ETR instruments, the hysteresis and slope settings are unavailable (shaded) whenever:
- Pattern Lock is on
- Clock Trigger or Clock/Divided is selected
- The trigger source is set to Free Run or CDR.
These settings are located on the General Trigger Setup tab.
Hysteresis
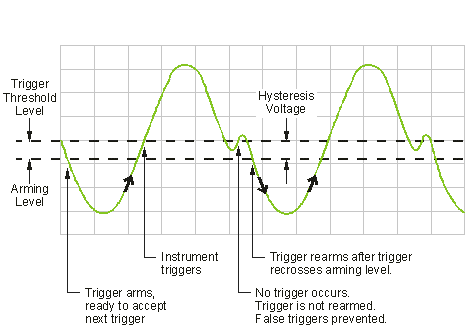
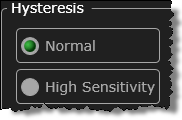 Trigger hysteresis helps to prevent false triggers from occurring on a falling edge due to noise when the rising edge is selected as the trigger edge (or on a rising edge when the falling edge is selected as the trigger edge). The voltage through which the trigger signal must pass before another valid trigger is accepted is known as the arming voltage level. Hysteresis is the voltage difference between the arming level voltage and the trigger threshold level voltage.
Select Normal for the instrument to trigger if a trigger signal crosses both the arming voltage level and the trigger threshold voltage level. Normal provides good trigger performance while minimizing false triggers.
Select High Sensitivity when the hysteresis is small to allow best sensitivity to high frequency signals. This allows smaller signals to be used as triggers, but can result in false triggers if there is significant noise on the trigger signal, or if the trigger signal is not monotonic in the region of the trigger threshold level.
When using the 86107A Precision Timebase module and the time reference is set, all external trigger sources and controls are disabled.
Slope
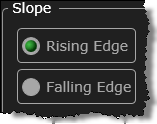 Select either the Rising Edge or Falling Edge. Triggering may occur on the rising or the falling transition of the trigger edge, but not both. The instrument identifies the trigger edge as a specified slope. Once the slope is found, the instrument triggers when the trigger signal crosses the threshold level.
Performing an Auto Scale does not affect the transition direction of the trigger edge.
The trigger signal must be connected to the trigger input of the instrument. For example, if you are using the trigger input on the instrument front panel, the trigger signal must be connected to the front panel trigger input. Auto Scale can then set the trigger level.
Pattern Lock / Rapid Eye
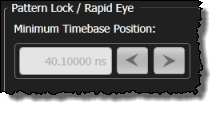 This setting allows you to specify the minimum trigger delay while in Pattern Lock when an 83496A/B clock recovery module is used. You can use this control to set the trigger-delay in Jitter Mode. In Jitter Mode, when making measurements on devices that employ a modulated clock, reduce the trigger's Minimum Timebase Position to 24.1 ns to ensure that lock can be established. Jitter measurements on devices with a modulated clock can result in artificially higher measured jitter levels, due to the instrument's trigger delay. Reducing the Minimum Timebase Position reduces the amount of observed jitter. Reduce the value from a default of 40.1 ns to its minimum value of 10.0 ns on an N1000A. Spread spectrum clocks that are used in computers are an example of a modulated clock.