Skew Calibration
The skew calibration removes any difference in the electrical lengths between a module's two remote sampling head cables.
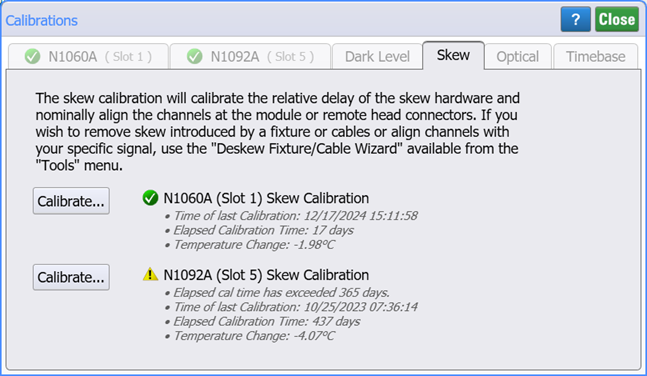
Calibration commands correspond to the features in the Calibration dialog. You can click on the tabs in this picture to learn about the different calibrations.
Use the :CALibrate:SKEW:SLOT:STARt command to start a skew calibration for a specific slot. You do not select or enable a skew calibration as you do with other calibrations. To query the status of a skew calibration, use the :SKEW:SLOT:STATus? command.
The skew calibration is can be performed on N1000-series plug-in modules (for example, N1045A), a DCA-M module (for example, N1094A/B), or an 86118A-H01 module.
To run the calibration
- Connect a 1.0 GHz sine wave to one of the input channels.
- Connect a synchronous trigger to the DCA-X's front-panel Trigger input. The amplitude of the signal must be between 200 mV (-10.0 dBm) and 710 mV (1.0 dBm).
- Send the
:CALibrate:SKEW:SLOT:STARTcommand to start the calibration.
During the calibration, always use same cables and connectors to connect the source to each of the module's channels.
Do not remove a module from the DCA-X during a calibration.
The input circuits can be damaged by electrostatic discharge (ESD). Therefore, avoid applying static discharges to the front-panel input connectors. Prior to connecting any coaxial cable to the connectors, momentarily short the center and outer conductors of the cable together. Avoid touching the front-panel input connectors without first touching the frame of the instrument. Be sure that the instrument is properly earth-grounded to prevent buildup of static charge. An anti-static mat and wristband are strongly recommended.