<Variable> Element
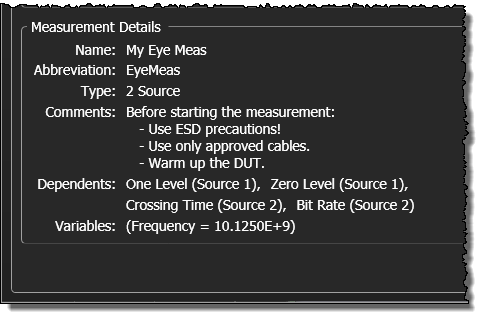
This element allows you to define up to four variables. To pass a variable to the script, include both the Name attribute and the associated Value attribute. If multiple variables are needed, use a separate <Variable> element to define each variable. The variable name with value is shown in the User Measurement Setup dialog. Any space character in the Name attribute is removed. When the XML file is loaded, FlexDCA does not confirm that the variable is in the script file.
Do not use spaces or hyphens when naming your variables.
|

|
<Variable> is an empty element. It does not accept any content between the opening and closing tags. All information is included in the element's attributes. Because this is an empty element, you can write it using a closing tag:
- <Variable Name = "Frequency" Value = "10.125E9"></Variable> <!-- Opening and closing tags -->
or with a self-closing opening tag. Notice in the above example that the opening element must end with the "/>" characters instead of the usual ">" character.
- <Variable Name = "Frequency" Value = "10.125E9" /> <!-- Self closing tag -->
- <Variable Name = "Frequency" Value = "10.125E9" > <!-- Illegal. Missing "/" character. No closing tag -->
The maximum number of variables allowed is four.
Parent Elements
Child Elements
None
Attributes
Enclose attributes values in double quotes.
- Name
- The name of a script variable that will be passed to the script when the measurement is run.
- Value
- The value of the variable given in the Name attribute.
Example
In the XML Configuration File:
- <Measurement>
- …
- <Variable Name="FType" Value="low" />
- <Variable Name="Frequency" Value="10.125e9" />
- <Variable Name="N" Value="42"></Variable>
- …
- </Measurement>
In the Python Script:
FType = variables['FType']
Frequency = variables['Frequency']
N = variables['N']