Demultiplexer Block Setup
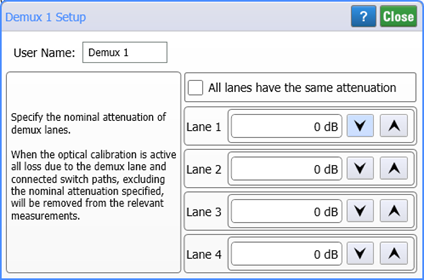
Use the Demux dialog to change the name of the Demux block.
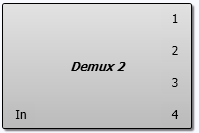
Place Demultiplexer blocks to the left side of the Switch block in the Hardware Diagram.
| Hardware Diagram Demux Block | Demux Setup Dialog |
|---|---|

|

|
Nominal Attenuation
Use the Lane fields to enter the nominal attenuation through the demultiplexer. If All lanes have the same attenuation is selected, the nominal attenuation specified for lane 1 of the demultiplexer will be used for all of the demultiplexter's lanes. When an optical calibration is active, all loss due to the lane and connected switch paths, excluding the nominal attenuation specified with this command, will be removed from the relevant measurements.
The default nominal attenuation is 0 dB.
User Name
Use the User Name field to enter a custom name for a demultiplexer (Demux). The name is limited to 25 characters. If a longer string is entered, only the first 25 characters is used. Valid characters are restricted to the set of characters that can be used when naming files in Windows.
To reset a custom user name to the default name, clear the User Name field.
The user name is:
- Displayed on the Hardware Diagram.
- Used as an argument when connecting ports with
:CONfigure:PORT:CONNectcommand. - Listed in a Station's Test Program, Active Jobs, and Job Results.
- Saved with the Hardware Diagram Setup file (*.setx).
- Saved with the Job Results file (*.zip).
The default name user name that FlexOTO assigns is Demux #. To reset a custom User Name to the default name, clear the User Name field.
If you hold the shift key down while dragging the Demux block to the Hardware Diagram,the block will automatically connect to the switch inputs.