Display Setup (Appearance tab)
Appearance
Use the Appearance tab of the Display Setup dialog to apply themes and animations as well as other settings.
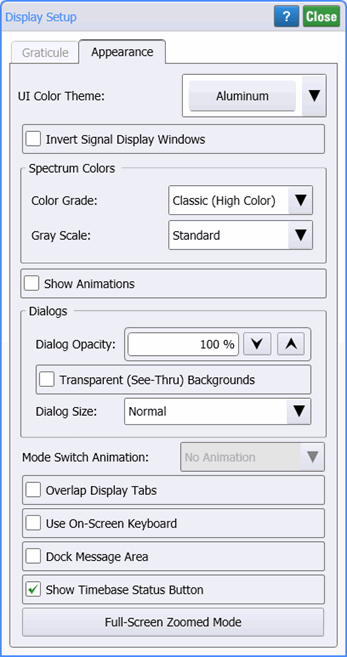
Color Themes
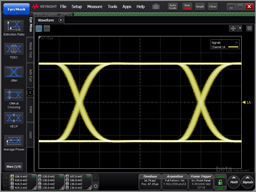
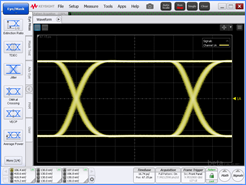
You can select from two UI Themes that affect the look of FlexDCA's window and dialoges. The available themes are shown in the following pictures. Tungsten is the Factory Preset theme. A Default Setup does not change the selected theme.
Invert Signal Display Windows
Normally, the background on all windows that display signals is black. When Invert Signal Display Windows is selected, the black background is changed to white. In addition, the background on saved screen images is inverted even if the Invert Graticule Area Background Color setting in the Save Screen Image dialog is clear. The Invert Signal Display Windows selection affects the following items:
- Waveform graticules
- Charts
- JSA plots
- Jitter graphs
- Screen captures
Spectrum Colors
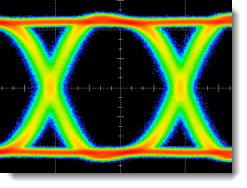
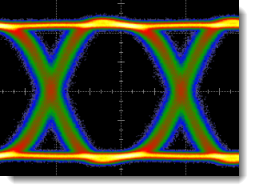
Spectrum Colors for Color Grade Persistence
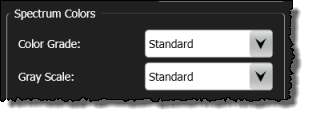
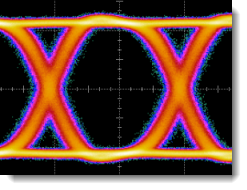
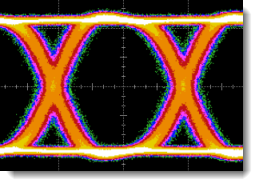
Use the Color Grade field to change the colors used to present Color Grade persistence waveforms. Click the Graticule tab in this dialog to select the persistence mode. The following pictures show the available color schemes that you can select. The default color scheme is Classic (High Color).
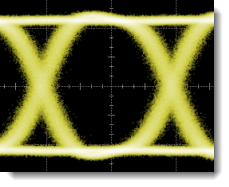
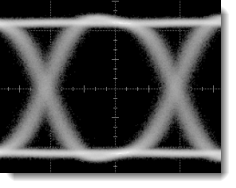
Spectrum Color for Gray Scale Persistence
Use the Gray Scale field to change the colors used to present Gray Scale persistence waveforms. Click the Graticule tab in this dialog to select the persistence mode. The following pictures show the available color schemes that you can select.
dialog Opacity, Transparency, and Zoom (Windows Vista or Windows 7 Only)
If you are running FlexDCA on a Windows 7 PC, you can select the Transparent checkbox which displays dialog backgrounds that allow you to view any underlying waveforms. Use the Dialog Opacity setting to control the amount of transparency that is applied to dialogs.
Use the scaling button, located at the bottom of the dialog, to set the FlexDCA's window size. The buttons toggles between Full-Screen Zoomed Mode and Normal (non-zoomed) Mode, which is the default setting.
dialog Size
You can select small, normal, or large dialogs using the Dialog Size drop-down list. The default size is normal.
Mode Switch Animation

Select Show Animations to enable the type of Mode Switch Animation selected in this dialog. This animation is visible whenever you switch FlexDCA's operating modes. For example, when you switch from Eye/Mask mode to Jitter/Noise mode. Mode switching animation affects the transition of user interface elements, but does not affect measurement capability or features.
To apply animation when using FlexDCA on a PC, the PC's graphics performance level must be HIGH as shown in the About N1010A dialog.
The following animations are available:
- Rotate Toolbar
- Fade Toolbar
- Slide Toolbar
- Rotate UI
- Fade UI
- Slide UI Down
- Slide UI Right
- Scale UI
- Scale and Rotate UI
Overlay Display Tabs
Select Overlay Display Tabs to specify that the results panels, shown on the display's bottom edge, overlap the main window that is normally used to display the waveforms.
Use On-Screen Keyboard
Select Use On-Screen Keyboard to display the pop-up keyboard and keypad whenever alpha or numeric data entry is required in a dialog field. Use this feature when using FlexDCA on the N1000A without a keyboard connected.
Dock Message Area
Select Dock Message Area to ensure that the message area remain visible on the display.
When you save an instrument setup, the appearance settings are also saved.
Show Timebase Status Button
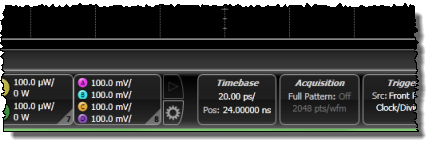
When the Show Timebase Status Button is selected the large Timebase button is located next to the channel bar as shown in the following picture. This is the default setting.
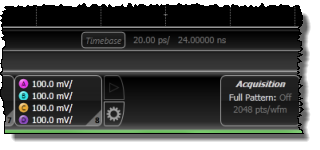
Clearing this selection removes the Timebase button to allow more room for the channel bar. A smaller Timebase button is placed between the channel bar and the graticule as shown in the following picture.

Click the expander button to expand or reduce this area.
Full Zoomed Mode
Full-zoomed mode formats the display for improved viewing when making presentations on a large screen. On the N1000A, you can connect a second, large display to the rear-panel connection.
